|
|
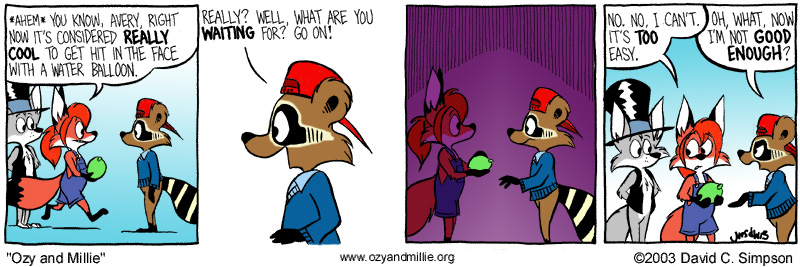
Coloring a Strip From Start to Finish
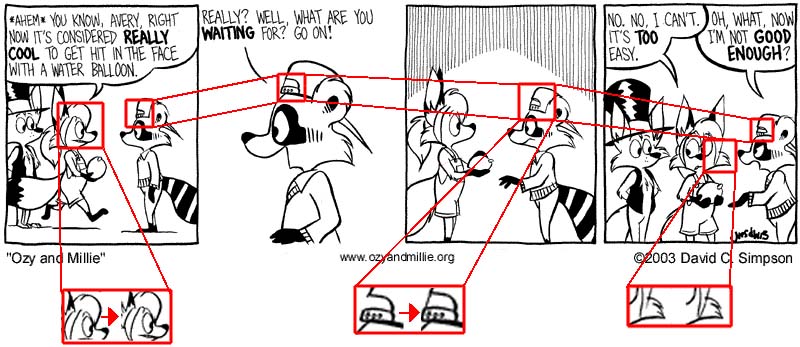
I will explain, briefly if I can, the steps it takes to coloring a strip from start to finish.
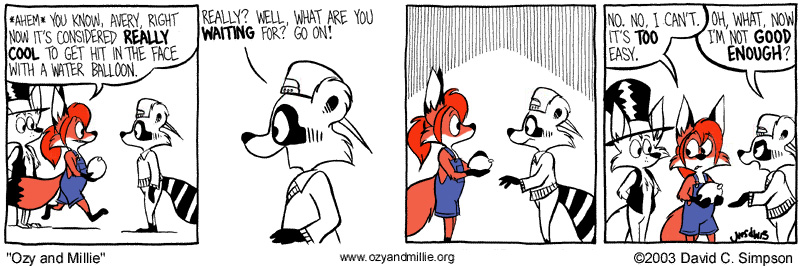
The strip above will be my example.
-
I begin by loading up the strip into Photoshop (5.5, as I find it
easier to work with). I convert it from its original format (.gif
indexed color, for those who understand what I mean) to RGB color.
This allows me to use effects, layers, and a full color pallete instead
of the 256 or so colors given by the original format.
-
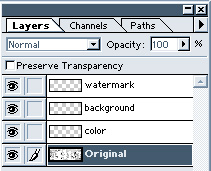
I add a layer for each section of the strip. This allows me to have
better control of the colors and layout. All layers containing color
are set to Multiply, so that the color blends into the black outlining
instead of coloring over it. If any characters are wearing glasses
or there is water soaking a character (such as in the Easy Target
storyline our example strip is from), then more layers are added as
necessary.
-
I then go through and repair any sections of the strip that would
look distorted or otherwise odd after being colored. This includes
unfinished lines, backgrounds, or texturing. I also correct any obvious
mistakes that D.C. may have overlooked and would be much easier to
spot in a color strip (such as in one strip Simpson forgot to color
in the black tip of Millie's tail. Oops!
-
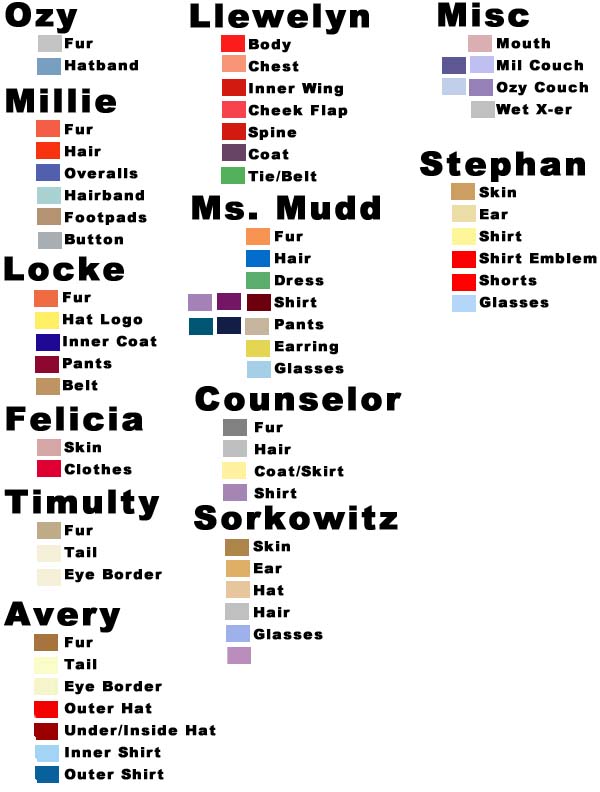
After I finish the repairs, its time to color. I load up my color
chart that has all the main characters colors and a few other things
that are constantly seen (couches, etc). As I color more strips, I'll
add more colors to this chart. (yes there are spelling mistakes here.
Ignore them.)
-
I usually choose one character and color them in fully in each panel.
This lets me work a bit faster instead of constantly switching colors.
-
I then color in all the characters. If I'm coloring a character
I don't usually color (such as, say, Ms Sorkowitz) I'll load up strips
that have been colored by D.C. Simpson to get the coloring, tones,
and layout looking correctly.
-
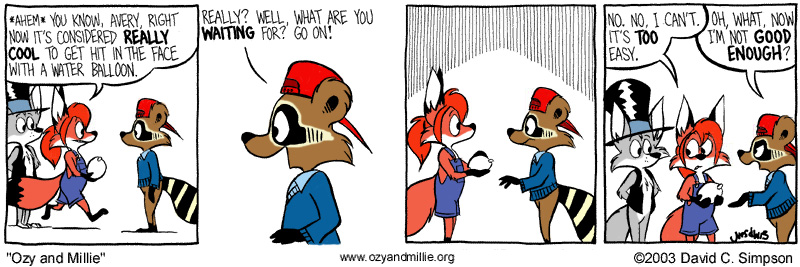
Now I add the backgrounds. If a panel has no border (such as the
2nd panel in the example strip) there is no background. If the background
has objects in it, I try to keep it matched up (such as in a classroom
for example), but if the background has texture (like the 3rd panel)
or is blank (like the 4th panel), I can color it as I choose. I try
to keep with the mood or a common color theme for that storyline.
-
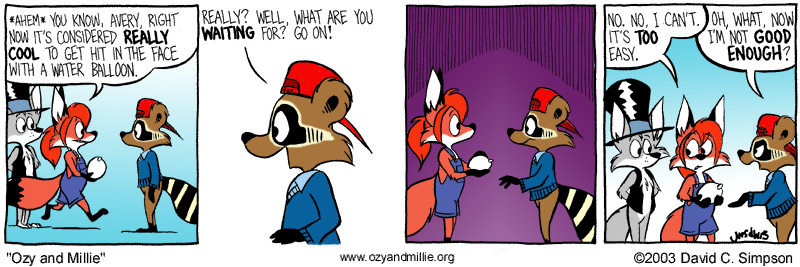
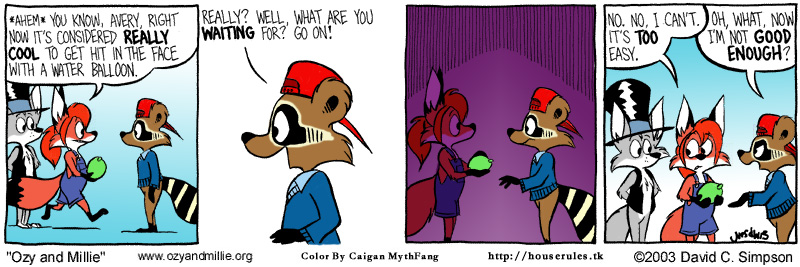
Almost done. I add the final colors for objects (like the waterballoon
here). I also add mood coloring, such as Millie in the third panel.
-
For the final step, I scan the image over to make sure I didn't
miss any coloring spots (I seem to a lot though). I add the watermark
image, and then its ready to upload! I save a backup copy, edit my
copy of the webpage, and when I get a chance, upload it.
Creation Video
These videos are of my coloring methods in motion. They are encoded in DivX 5.01, which is a superb compression video format.
Same as the Old Millie
Download DivX codec -
If you are unable to play this video, download and install this codec package.
|